We all love our gadgets and it wouldn’t be wrong to say that your phone is your best friend. And if something were to happen to it, you get a mini-heartache. Sometimes while walking on the road, your phone can slip away from your hand or other times it can just fall down from the table. You never know what can happen and next thing you know is you have a broken screen. You can obviously have your phone screen repaired. But the best thing you can do is to repair it yourself. So here we are assisting you so that next time when any unfortunate situation occurs, you are there to solve it.
However, one thing you should always remember that your mobile is fragile and even when you are yourself repairing the screen you need to do it with utmost care. The first step to replacing or repairing your screen is to disassemble your phone and remove its broken parts. This though is one of the simple things if not done properly then the whole process can go for a toss.

The disassembly is the hardest and most dangerous part of the screen replacement process. A little mishandling can break plastics, tear ribbon cables and generally do irreparable damage to other pieces inside the phone. So it’s better to go slow.
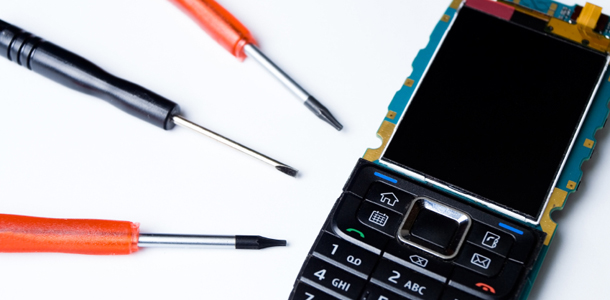
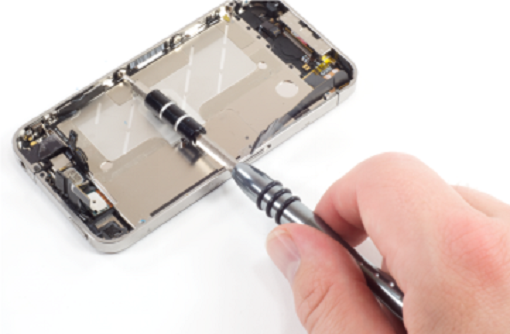
Remember not to use sharp objects and make sure the place you are sitting has a lot of room for all screws and tiny pieces. Although each model is different the process is more of less similar. You need at least a tiny screw driver and a prying tool of some kind.
Once you get the first round of screws under the battery cover removed, you’ll need to pry apart the casing until the catches unsnap. This is an exercise in gentle force — apply just enough to get them separated, but not enough to do damage. These catches tend to re-snap themselves if you don’t pull them out far enough. It’s hard to know when that is, though, so slowly work your way around the edge of the casing until it starts to separate, and then gently see if you can pull it apart.
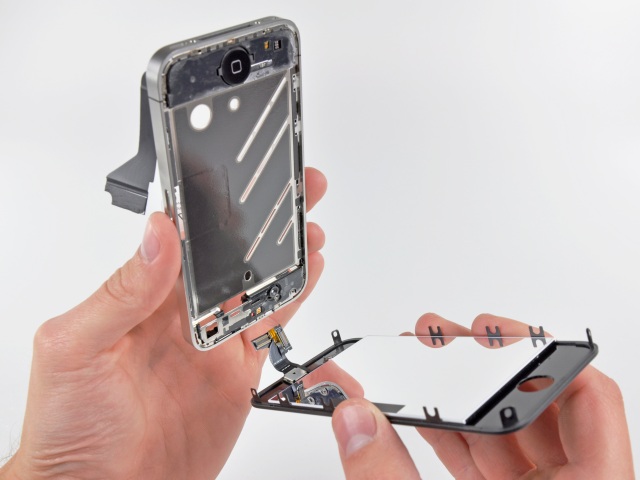
Once you’re inside your phone, the biggest risk is damaging its main ribbon cable. This is a broad, flat cable that connects the LCD and digitizer to the phone’s main board. If it gets torn or broken in any way, it’ll have to be replaced too, likely for at least another $20. This, is the main reason why you should avoid using sharp objects.
Next you will need to remove this cable to replace the screen, so be very gentle. Detach it from the phone’s main board first, and then remove the main board to expose the display. If you have a phone with a slide-out panel, the display half will need to be separately disassembled. When the screen is exposed, check carefully for whatever parts you need to save from the old screen assembly. Things like a front-facing camera and any capacitive buttons are usually not included with new parts, so they need to be removed and reinstalled with the new screen. From here, you have to get the screen and digitizer out. This is probably going to wreck both pieces. LCDs in particular are very, very delicate, and the force needed to get it all unglued will probably break anything short of Gorilla Glass. If you want to remove these glued parts without too much damage, heating them up with a hair dryer can help.
LCDs are made of weak glass, but it’s still glass, which means it can still cut and stab if you aren’t paying attention. The much stronger glass of the digitizer is even more dangerous if it goes to pieces, though it’ll usually stay together even if it cracks. After you get those parts off, go around the edges of the device and trim any loose adhesive material that’s sticking out. Once that’s done, very carefully seat the glass digitizer into the frame, and then reattach the ribbon cables. There’ll be one for the earpiece, light sensor and camera, one for the capacitive buttons, and one for the main cable itself.
Once done with these steps thread the main cable through the sliding mechanism. Replace the main board, connect the main ribbon to it, and screw everything into place. It’s almost done.
Next is you reassemble the phone and snap the cover back into place and install the battery. And you’re done. However if at all your phone doesn’t work when you switch it on don’t panic. You might have a loose cable or so. So check thoroughly without going into the panic mode and by the time you are done you phone is back to life.


 One of the most common habits of every human is that they get their Cell Phone Repair only when there is a major fault. Sometimes it’s very beneficial to refurbish a mobile phone, even when it does not have problems. There are also several benefits of restoring a phone, which is not in the knowledge of most of the people. While everyone is busy in their fast running lives, people never concentrates on their cell phone all the times. Due to this, the smartphones are handled roughly. Sometimes due to carelessness, and other times due to accidental damages, an internal technical fault occurs; which is unidentified from outside.